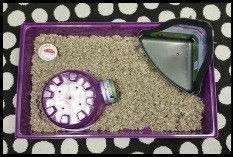
Step 1 To the plastic base, add your litter box and Carefresh or virgin paper bedding. Then place your igloo on top of the bedding. Place the food dish under the igloo! Hedgies will be expecting food to come to them.

Step 2 Add your Dry Den or Nature's bedding (available at any farm and ranch store) to the litter box. You just need to add one pellet layer deep.
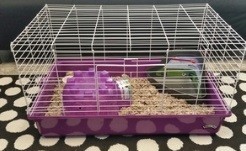
Step 3 Fasten the wire top to the base with the 2 plastic clips on each end.
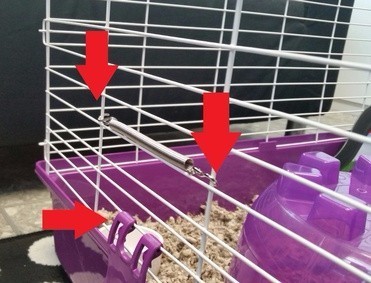
The Water Bottle:
Step 1 Fasten the spring (found inside the bottle) to the vertical wires on the left side of the cage above the clip.
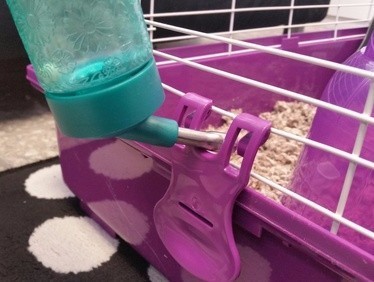
Step 2 After filling the bottle with water, insert the sipper tube into the notch in the side clip.
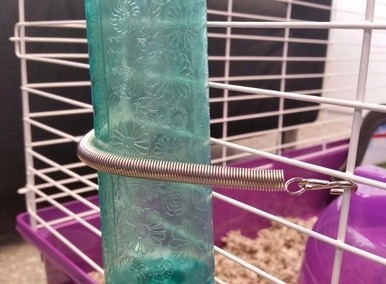
Step 3 Pull the spring around the water bottle to secure in place. Reach into the cage and tap the red plastic ball until the bottle stops dripping. You will see bubbles rise in the container (like a water cooler) when the siphon has started.
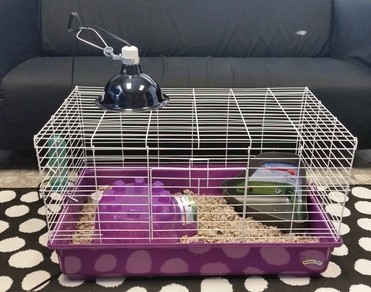
The Ceramic Heat Emitter (CHE):
Step 1 After you assemble the clamp onto the lamp, place on top of your cage.
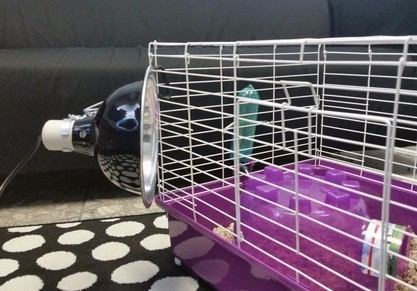
Alternative Placement: Sometimes during colder months it may be necessary to attach the CHE to the side in order to maintain a 75-80 degree environment.
If your cage is too warm, you can place the CHE on top of the cage on a 45 degree angle. Moving the CHE away from the cage or turning it off in warmer months mat be necessary.

Climbing:
Sometimes hedgies will start to climb the inside of the cage after you bring it home. If your baby is a climber, simply fasten 8 inch tall panels of cardboard, acrylic sheets, or chloroplast (corrugated plastic sheets used for sign making) to the INSIDE of the cage. It is easy to fasten the panels with zip ties, cable ties or bread bag twist ties. You should be able to remove these sheets when your baby settles down from the big move.